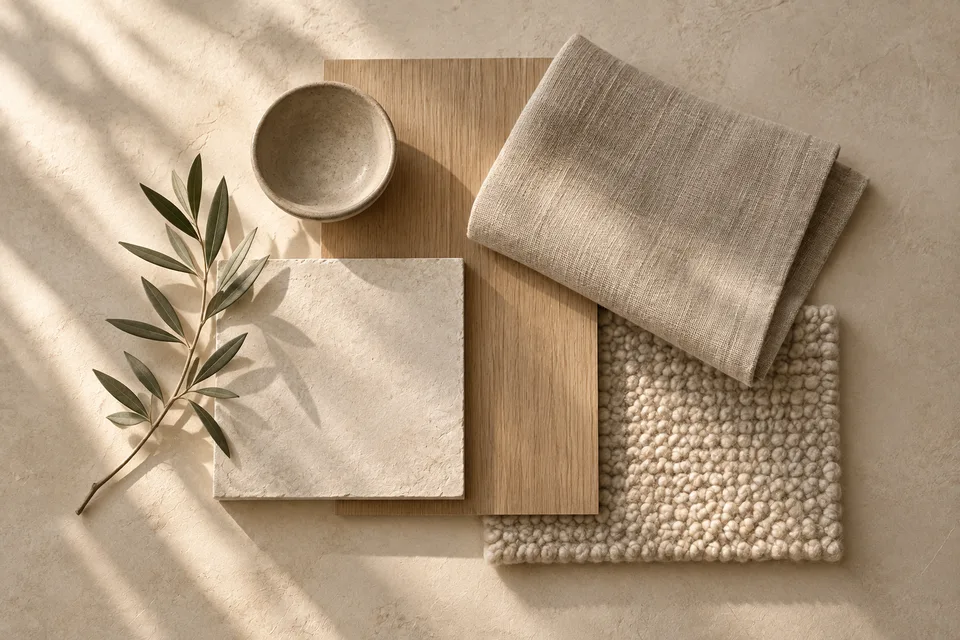
Material board versus mood board
A mood board explores a direction. A material board brings proposed materials into relationship: floor against wall, upholstery beside timber, and hard surfaces next to soft ones. A digital board helps communicate those relationships; a physical board lets reviewers examine actual samples.
Neither board replaces product information. A material may look appropriate and still need checks for application, substrate, maintenance, durability, or specialist requirements. Keep aesthetic approval separate from technical review.
Give each sample a stable reference
Use the same reference on the board, finish schedule, and drawings. In The Window Room, FIN-01 identifies the existing oak flooring and FIN-02 identifies the proposed warm mineral wall finish. J-01 identifies the joinery concept; it is not a verified manufacturer’s product code.
Label samples with the product or material name, intended application, source, and revision or sample date when known. If a product is not selected, say so. A descriptive placeholder is more honest than an invented supplier reference.
Review materials in context
Place materials beside the retained elements that cannot easily change. For this sample, that means the oak floor is the reference point rather than a disposable background. Examine physical samples in the project’s relevant lighting conditions where possible; record what conditions were used for the review.
- Check finish combinations, not just individual favorites.
- Keep alternates separate and identify why they are being considered.
- Record differences between the actual sample and the displayed image.
- Request product information before assuming suitability for a surface.
Transfer decisions into the schedule
When a selection advances, update the finish or product specification with its source and status. A board label should lead to an identifiable record, not a dead end. Keep outstanding quantities and preparation questions visible.
The illustrative wall finish has no measured area. Do not infer a purchase quantity from the room’s 20 m² floor footprint. The board establishes a visual relationship; survey and product-specific planning establish what a real project requires.
Keep the sample-to-surface connection intact
A material reference needs an application as well as a name. When the palette advances, keep the selected physical or product reference traceable in your own project record. The current sample has no verified manufacturer products or physical-sample approvals.
| Situation or reference | Useful record or next action |
|---|---|
| FIN-01 retained floor | Use it as a visual reference; condition remains a survey question. |
| FIN-02 warm mineral walls | Develop a surface assignment and product information; leave area unresolved. |
| J-01 pale oak joinery | Link finish intent to the joinery record rather than assuming a fabrication specification. |
Before you move on
- Does every sample have a reference and application?
- Can someone distinguish selected, alternative, and unverified materials?
- Have physical review and technical suitability been treated as separate tasks?
About this resource
Authored by OpenLintel with AI assistance. Examples are illustrative and have not received independent professional review. Adapt the structure to your practice and verify project-specific information. No legal agreement, regulatory compliance, or construction readiness is represented.
See the information connect
Follow the corresponding chapter of The Window Room: one illustrative brief, one selected direction, and coordinated sample references.
Explore the sample materialsDiscuss your studio’s workflow
Does this step lose information when your team moves to the next document? Discuss the coordination problem in a pilot discovery conversation. OpenLintel is in active development; this is not a hosted trial.
Request a pilot discovery conversation